How to Convert iPhone HEIC Photos to JPG (No Upload)
Convert HEIC photos from your iPhone to JPG for free, right in your browser. No upload, no account, and your photos never leave your device.
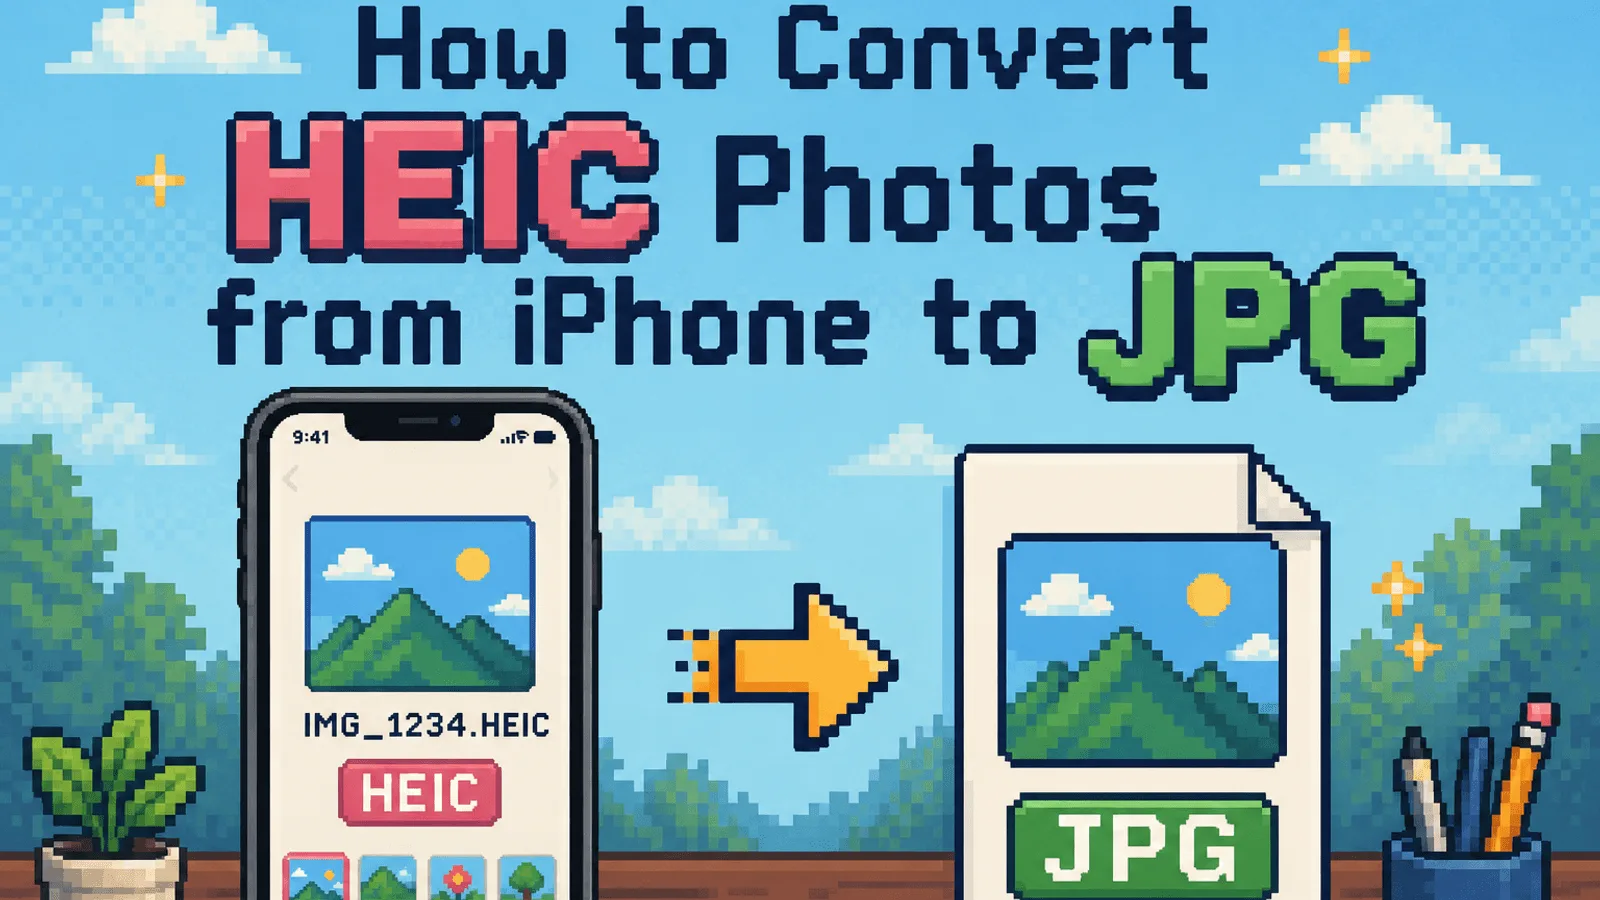
You email a photo from your iPhone to a colleague, and they reply: "I can't open this. What's a .heic file?" If that sounds familiar, you're one of millions of iPhone users who've run into Apple's HEIC format. The photo looks perfect on your phone, but Windows PCs, older software, and plenty of websites simply refuse to open it.
The fix takes about ten seconds: convert the photo to JPG, the format that works everywhere. This guide shows you how to do it for free with our HEIC to JPG converter. Because the conversion runs entirely inside your browser, your photos are never uploaded to a server. Not ours, not anyone's.
Why your iPhone photos are HEIC in the first place#
Since iOS 11, iPhones and iPads save photos in HEIC (High Efficiency Image Container) by default. Apple didn't do this to annoy you. HEIC stores the same visual quality as a JPEG at roughly half the file size, which means twice as many photos fit on your phone.
The catch is compatibility. HEIC relies on patented HEVC compression, so support outside the Apple ecosystem is patchy: Windows often needs a paid codec extension from the Microsoft Store, Android support is inconsistent, and many upload forms, CMSs, and older applications reject the format outright.
JPG, by contrast, has been the universal photo format for over thirty years. Every browser, every operating system, every photo printer, and every "upload your image" button on the internet understands it. When you need a photo to just work, JPG is still the answer.
Step 1: Open the HEIC to JPG converter#
Head to the free HEIC to JPG converter. There's nothing to install and no account to create; the tool is the page. It works in any modern browser on Windows, Mac, Linux, Android, and on the iPhone itself.
One thing worth knowing before you start: this converter runs on WebAssembly, the same codec technology behind Google's Squoosh. Your browser does the actual work. There is no upload step, which is also why it starts instantly, with no progress bar crawling to 100% before anything happens.
Step 2: Add your HEIC photos#
Drag and drop your HEIC or HEIF files onto the upload box, or click it to open your file picker. You can add up to 20 photos at once, and each file can be up to 50 MB, which is enough for even 48-megapixel ProRAW captures.
On an iPhone, tap the box and choose photos straight from your library. On a Mac, you can drag photos directly out of the Photos app. Everything stays local: if you open your browser's network tab, you'll see no photo data leaving your machine.
Step 3: Choose your quality (or don't)#
Before converting, you'll see a quality slider set to 85%. For nearly everyone, the default is the right choice. At 85%, the difference from a maximum-quality JPEG is invisible in normal viewing, and files come out dramatically smaller.
Two situations where you might move it:
- Printing large photos or editing further? Raise it to 95-100% to keep every bit of detail.
- Posting to the web or sending many photos? You can go down to 70-80% and most people will never notice.
Step 4: Convert and download#
Click Convert. Your browser decodes each HEIC and re-encodes it as a JPEG. A typical 12-megapixel iPhone photo takes two to five seconds, and multiple photos convert in parallel with a progress bar per file.
When it finishes, download photos individually or hit Download all as ZIP to grab the whole batch in one archive. That's it: your JPGs will open anywhere, from a 2005-era Windows laptop to your grandmother's email client.
Does converting HEIC to JPG lose quality?#
Honest answer: technically yes, practically no. JPG uses lossy compression, so a pixel-for-pixel mathematical match isn't possible. At the default 85% quality, though, the loss is imperceptible to the human eye. You could put the original and the conversion side by side on a large monitor and not tell them apart.
Two caveats worth knowing:
- Conversion is one-way. Converting the JPG back to HEIC later won't recover the original file, so keep your originals if they matter.
- EXIF metadata isn't carried over. The converter works at the pixel level, so the date taken, GPS location, and camera details are not embedded in the output JPG. For photos you're sharing publicly, that's arguably a privacy feature. If you need the metadata preserved, keep the original HEIC alongside.
When PNG is the better choice#
If you're planning to edit the photo, whether that's retouching in Photoshop, dropping it into a Figma design, or archiving it without any generational loss, consider converting to PNG instead. Our HEIC to PNG converter produces lossless output: every pixel identical to the source, with full support for transparency.
The trade-off is size. PNG files often come out three to six times larger than the HEIC original, so it's the wrong choice for email attachments or web uploads. A simple rule of thumb:
| Your goal | Convert to |
|---|---|
| Share, email, upload anywhere | JPG |
| Edit or archive losslessly | PNG |
| Publish on your own website | JPG, then compress |
Bonus: shrink the results before sharing#
Converted a batch of photos to email or upload somewhere with a size limit? Run the JPGs through the image compressor afterwards. It re-encodes at your chosen quality and shows the size reduction per file. A 40-70% saving is typical, with no visible difference. Your recipients' inboxes will thank you.
Can I stop my iPhone from using HEIC entirely?#
Yes. Go to Settings → Camera → Formats and switch from "High Efficiency" to "Most Compatible." Your iPhone will save new photos as JPG from then on. According to Apple's documentation, this also switches videos from HEVC to H.264.
Before you flip that switch, though, consider the cost: JPG photos take roughly twice the storage space, and you lose some computational photography benefits on newer iPhones. Most people are better off leaving HEIC on and converting the occasional photo that needs to travel. It's a ten-second job, it's free, and your photos never leave your device.
Try the tools
Free, private, and instant. Everything runs in your browser.