How to Compress a PDF Without Losing Quality
Shrink a PDF's file size while keeping images and text sharp. Learn which settings are actually safe, and which ones quietly wreck a document.
"Compress" sounds like a trade-off: smaller file, worse document. It doesn't have to be. Most PDFs carry far more image data than they need to look sharp on a screen or in print, which means there's a range where you can cut the file size dramatically and the result is genuinely indistinguishable from the original. Go past that range and you'll see it: soft edges, blotchy gradients, text that's still crisp but sitting next to mushy photos. This guide is about finding that line on purpose, with the free Compress PDF tool, instead of guessing.
Why "quality loss" only ever means one thing in a PDF#
A PDF holds three kinds of content, and they don't compress the same way:
- Text is stored as characters, not pixels. Compressing a PDF never blurs, resizes, or degrades text, because there's nothing to re-encode; it's just data.
- Vector graphics (logos, line art, charts drawn in the original document) are also stored as math, not pixels, so they stay perfectly sharp at any zoom level regardless of compression.
- Raster images (photos, scanned pages, screenshots pasted in) are the only part that's actually re-encoded, and they're where all the risk and all the savings live.
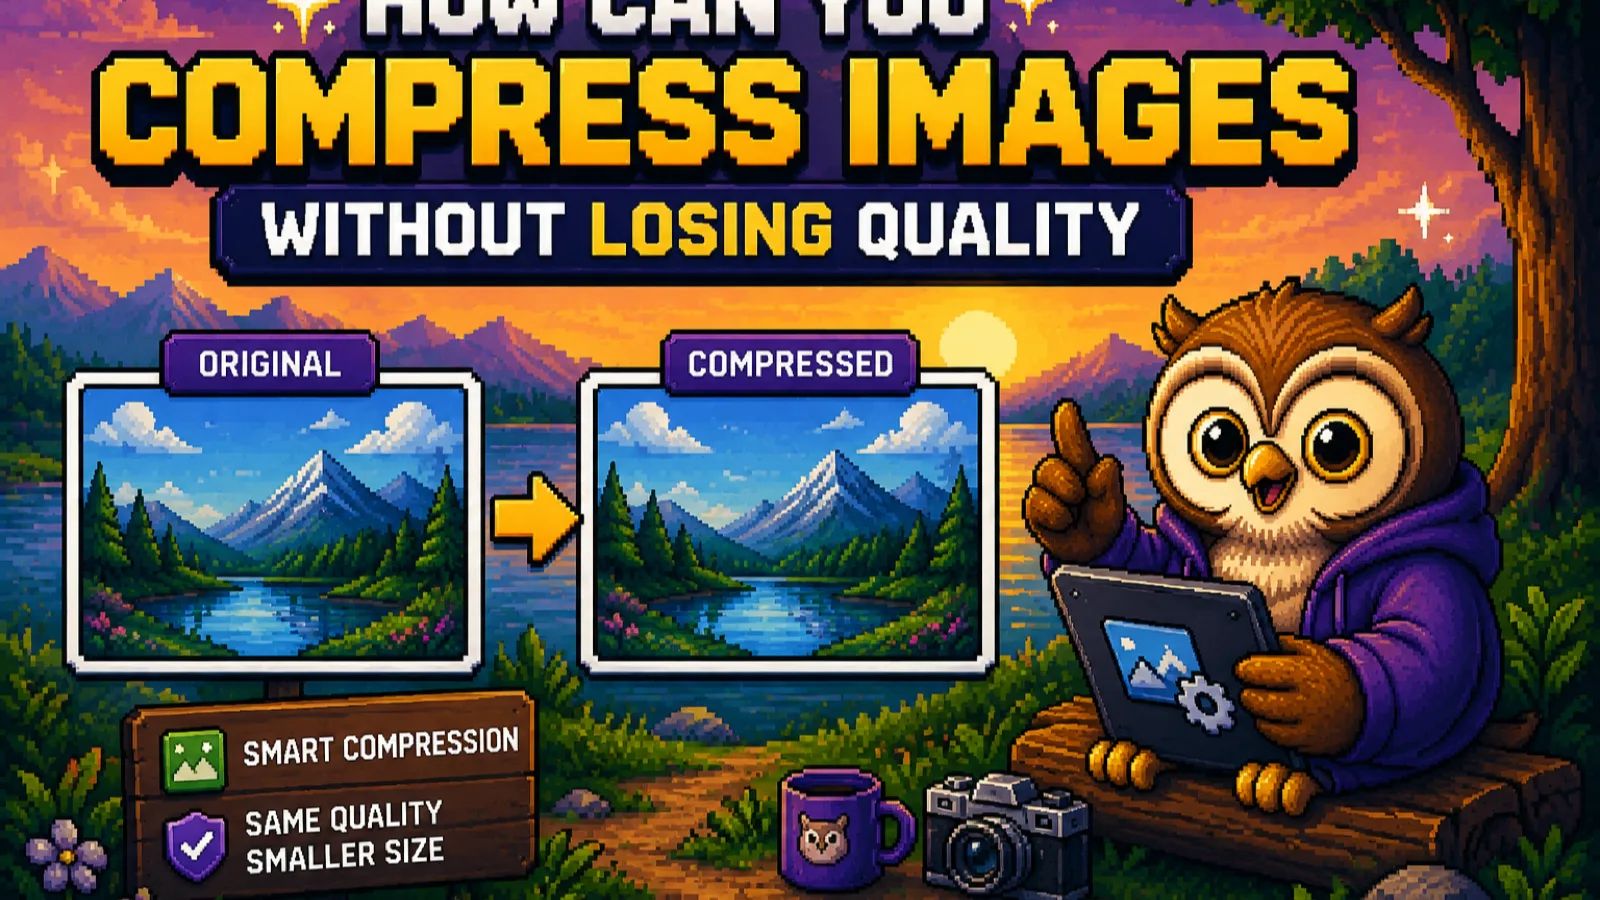
So "losing quality" during PDF compression really means one specific thing: the embedded images being re-saved at a lower JPEG quality than the original. Once you know that, the whole problem becomes a lot narrower: you're not protecting the whole document, you're protecting the photos and scans inside it.
The setting that actually controls quality: the JPEG quality level#
When you compress a PDF, the tool re-encodes each embedded image as JPEG at a quality percentage you choose, typically 0 to 100. This single number is doing almost all the work:
| Quality range | What happens | Best for |
|---|---|---|
| 80-95% | Barely visible difference, modest size savings | Photos or scans you'll print, or zoom into |
| 60-75% | Sharp at normal viewing size, meaningful savings | Everyday sharing: email, forms, chat |
| 30-50% | Visible softening on close inspection, big savings | Drafts, internal use, size-capped uploads |
| Below 25% | Visible blockiness and color banding | Only when the size cap leaves no other choice |
The honest rule of thumb: 60-75% is the range where most people can't tell the file was compressed at all, but the file is often a fifth of its original size. That's the setting to reach for by default in Compress PDF, reserving anything lower for a hard size limit you have to hit.
Step 1: Open the Compress PDF tool#
Go to convertowl.com/compress-pdf. There's nothing to install and no account to create. Compression runs entirely inside your browser through WebAssembly image codecs, so the file is never uploaded to a server, which matters if the document is a contract, a scan of an ID, or anything else you'd rather not hand to a third party. Files up to 100 MB are supported.
Step 2: Add your PDF#
Drag the file onto the page, or click to browse for it. Because nothing is uploaded, there's no progress bar creeping toward 100% before anything happens; the tool starts working the moment the file is read locally.
Step 3: Start high, not low#
Set the quality slider to around 80% first, not 40%. It's much easier to compress a bit further if the file is still too large than to notice a document already looks soft after you've deleted the original. Starting high also gives you a real before-and-after comparison to judge against, instead of guessing at what "good enough" looks like.
Step 4: Zoom in before you trust it#
The tool shows the new file size instantly, but size isn't the same as quality. Open the result and zoom in on a photo or a scanned block of text at 150-200%, the level a reader might actually zoom to. If it still looks clean there, it'll look clean everywhere. If you see soft blotches around text or muddy color transitions in a photo, back the quality slider up a notch and re-run it; since nothing left your browser, there's no cost to trying again.
Step 5: Compare the numbers and download#
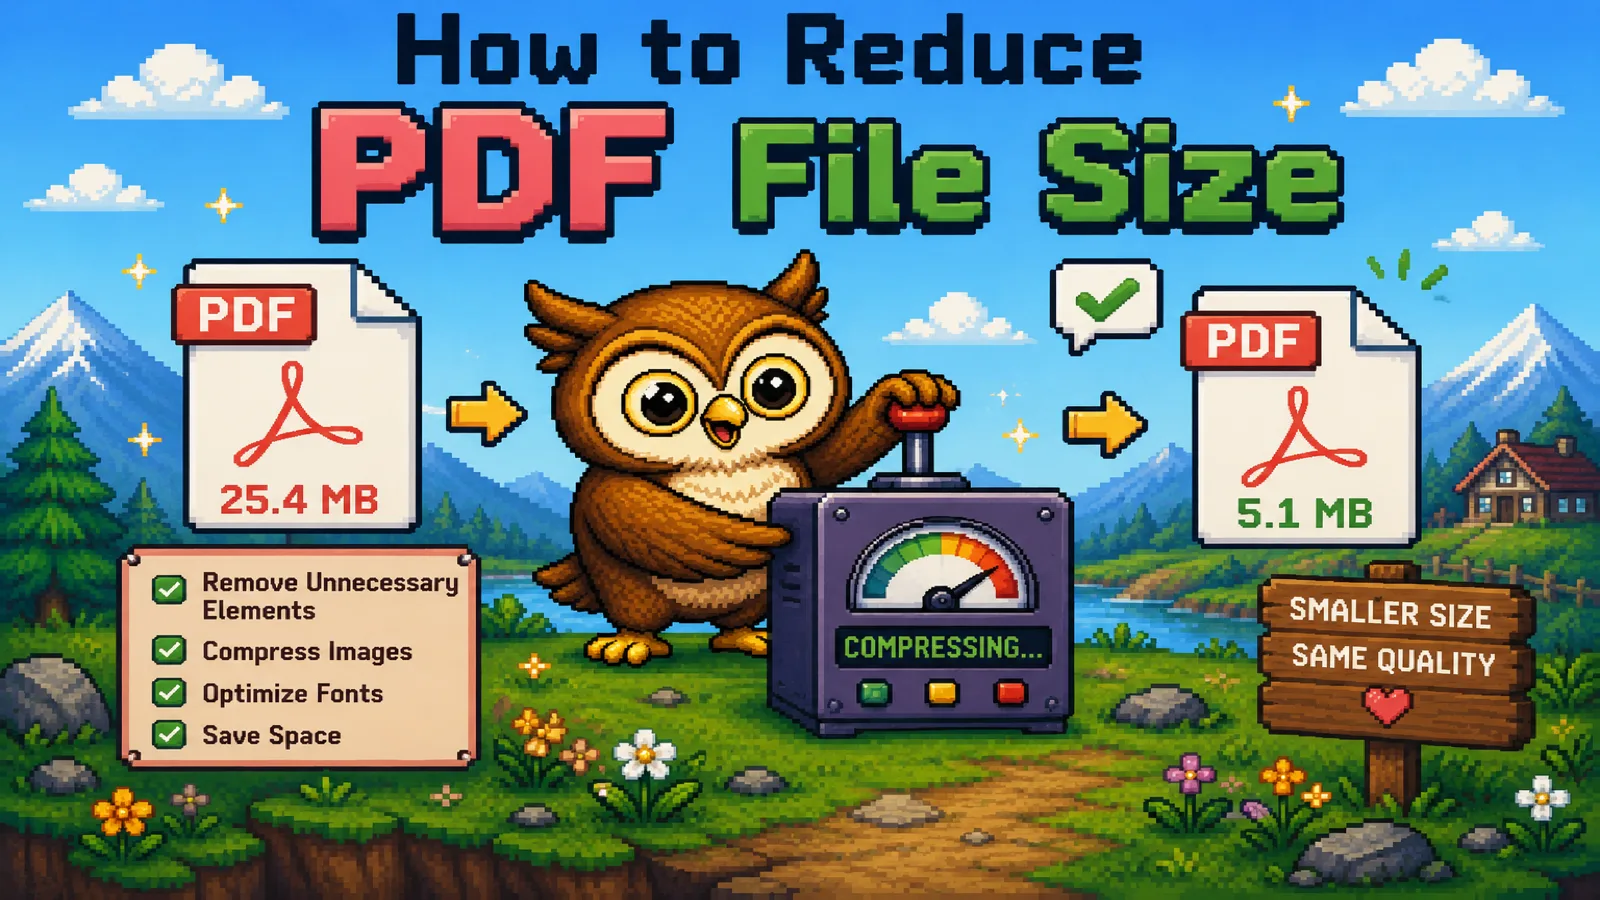
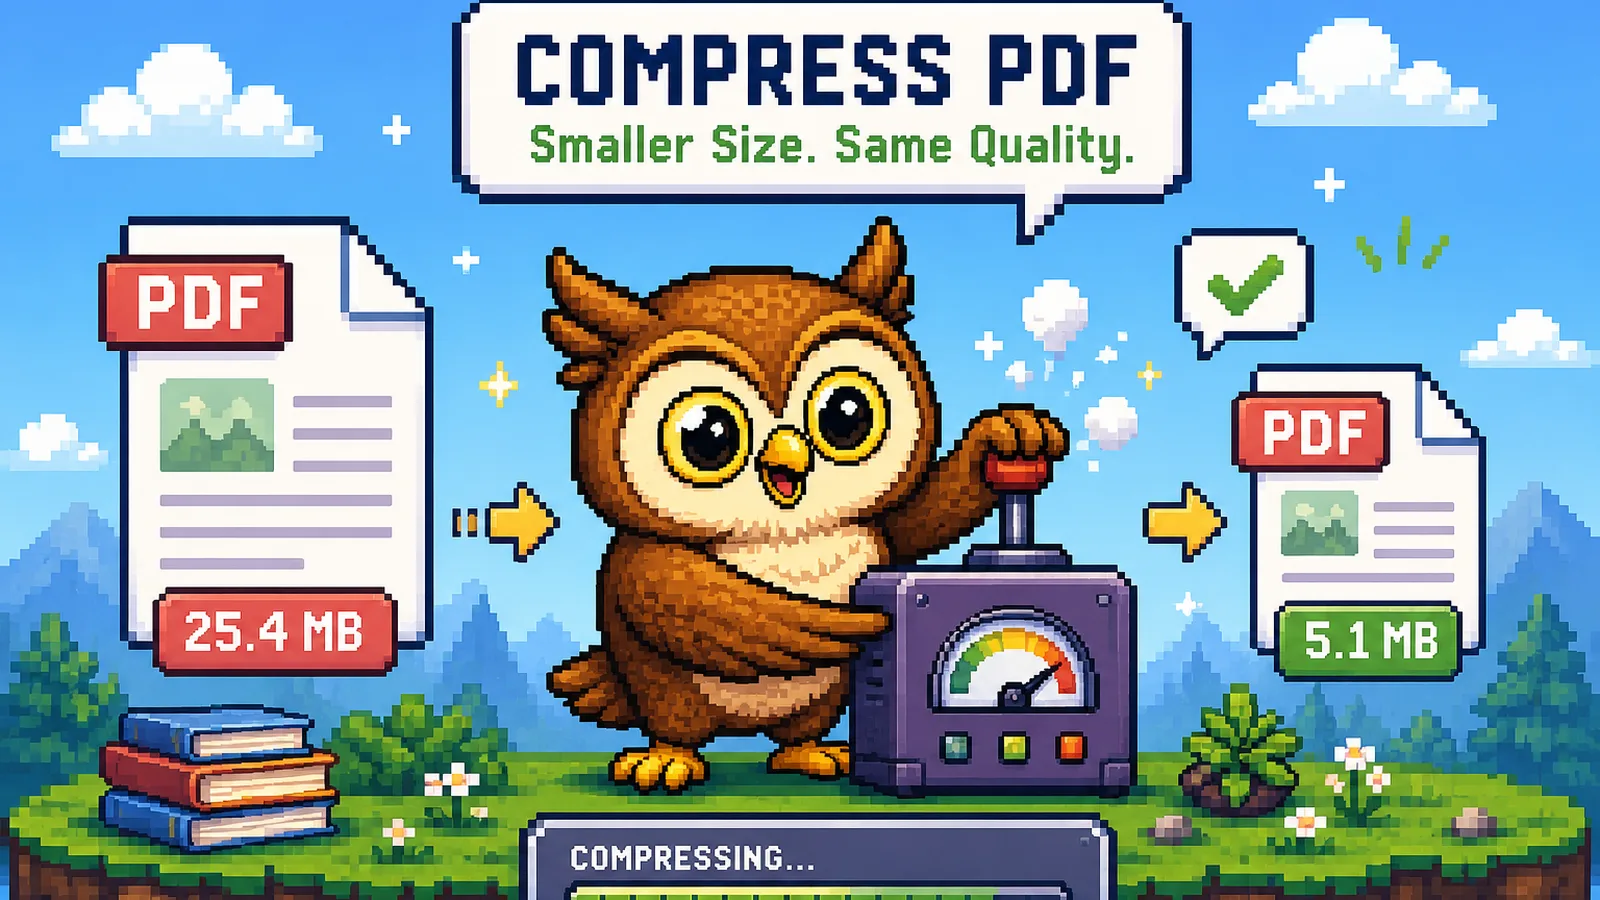
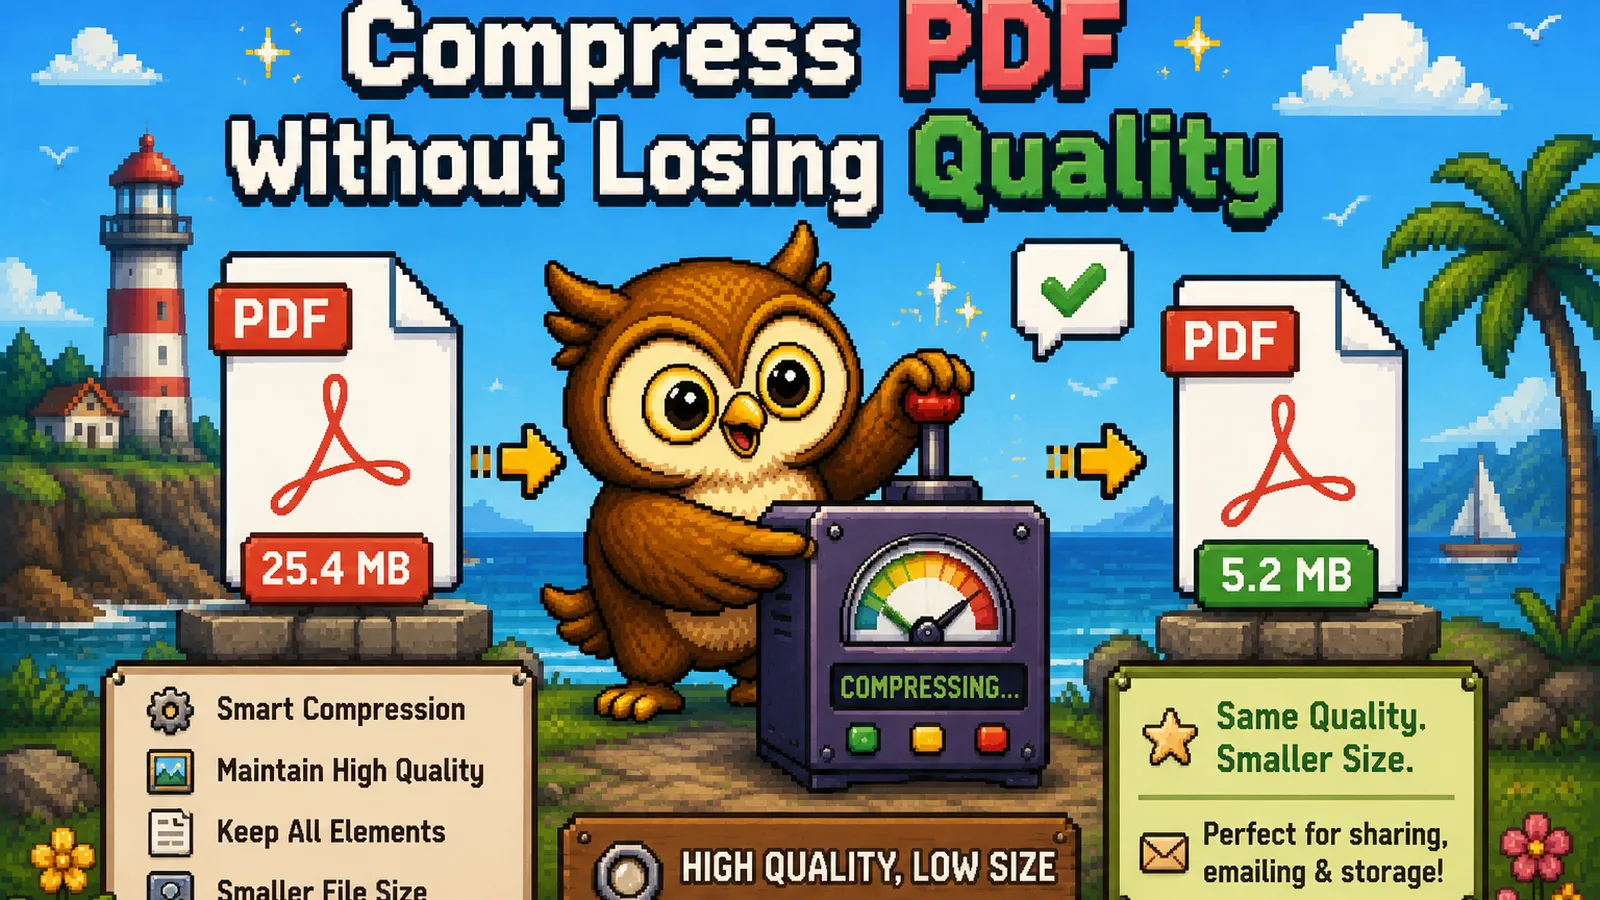
Check the exact before-and-after size the tool reports. If a 25 MB scanned document is now 6 MB and it still looks sharp at 150% zoom, you've found the setting. Download it and keep the original PDF somewhere until you're sure you won't need to re-compress at a different quality later.
When compression isn't actually the risk#
Two habits cause more real quality loss than the slider ever does:
- Compressing the same file more than once. JPEG is a lossy format, so re-encoding an already-compressed image throws away more detail each time, even at the same quality percentage. Always compress from the original source file, never from a copy you already compressed.
- Confusing "smaller" with "fewer pages." If the actual problem is that a document has 40 pages and only a few are relevant, compressing all 40 wastes effort and still leaves you with a bigger file than you need. Split PDF pulls out just the pages that matter, at their original quality, since nothing gets re-encoded at all. That's genuinely lossless the way lowering a quality slider never is.
If you're the one merging several source files before this step, our guide to combining multiple PDFs covers doing that cleanly first, so you compress once at the end instead of several times along the way.
Is browser-based compression actually safe for quality, not just privacy?#
Yes, and it's related to the same reason it's private. A server-based compressor uploads your file, runs it through a single fixed setting on their end, and hands back whatever comes out, often with no zoom-and-check step and no way to tell what quality level was applied. ConvertOwl's compressor runs the WebAssembly JPEG codec libjpeg-turbo locally in your browser, so you control the exact quality percentage, see the real result immediately, and can re-run it at a different setting in seconds if it's not right, all without the file ever leaving your device.
FAQs#
Can you actually compress a PDF without losing any quality?#
Yes, if the images inside are re-encoded at a high JPEG quality (80% or above) the difference is not visible to the eye, and if the size problem is really about page count rather than image weight, splitting removes size with zero re-encoding at all.
What quality percentage should I use to compress a PDF safely?#
60-75% is the range where most scans and photos look identical to the original at normal viewing size while still shrinking substantially, making it the safest default before you consider going lower.
Does compressing a PDF blur the text?#
No, text in a PDF is stored as character data rather than pixels, so compression never touches, blurs, or resizes it; only the embedded raster images are re-encoded.
Why does my PDF look worse after I compressed it twice?#
JPEG re-encoding is lossy, so compressing an image that's already been compressed discards more detail on the second pass even at an identical quality setting, which is why you should always start from the original file.
How do I check if a compressed PDF still looks good enough?#
Zoom into a photo or dense block of scanned text at 150-200%, the level a reader might realistically zoom to, since problems that are invisible at a normal page view often show up clearly at that zoom level.
Is it safe to compress a confidential PDF for quality testing?#
Yes, ConvertOwl's Compress PDF tool processes the file locally in your browser using WebAssembly, so you can re-run it at different quality settings as many times as you want without the document ever being uploaded anywhere.
The short version#
- Only the embedded raster images in a PDF can lose quality during compression; text and vector graphics are never affected.
- 60-75% JPEG quality is the range where most documents look untouched while still shrinking significantly; start there before going lower.
- Always compress from the original file, never from an already-compressed copy, since JPEG re-encoding loses a little more each pass.
- If the real issue is too many pages rather than heavy images, split instead of compress: it's genuinely lossless.
- Everything above runs free and locally in your browser. Browse more how-to guides for other file-size fixes.
Ready to try it? Open the free Compress PDF tool, start at 80% quality, zoom in to check, and adjust from there: no upload, no watermark, no account.
Try the tools
Free, private, and instant. Everything runs in your browser.