How Can You Compress Images Without Losing Quality?
Shrink JPGs and PNGs while keeping them sharp. Learn what actually causes quality loss, which format to pick, and the settings that are genuinely safe.
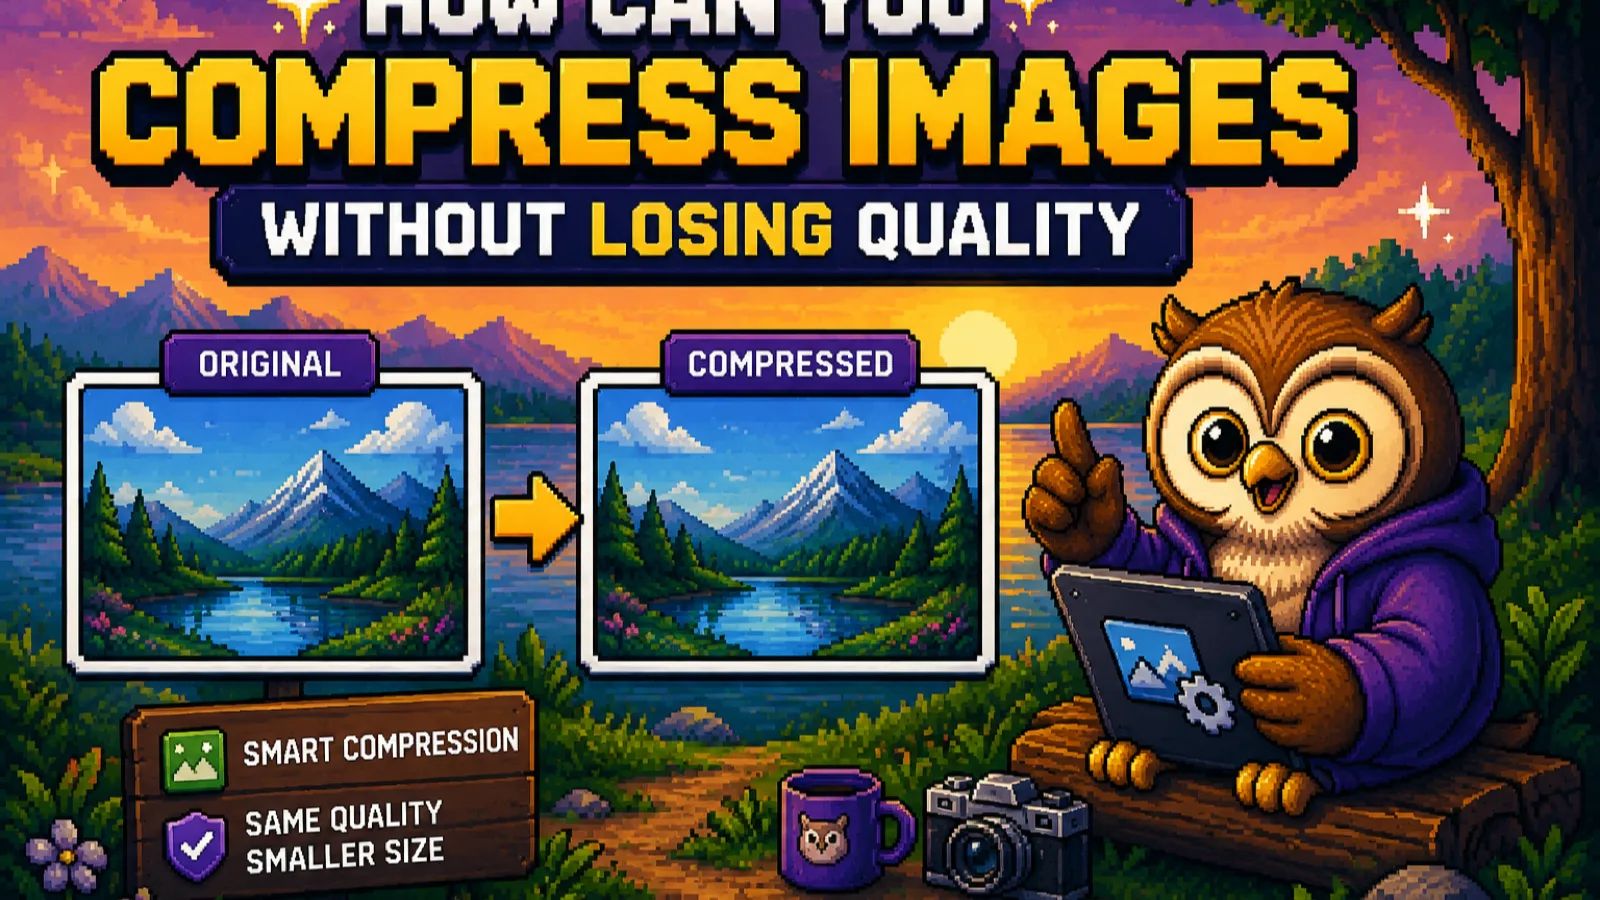
A 4 MB photo from your phone doesn't need to be 4 MB to look sharp on a screen. Most of that weight is detail your eyes can't actually register: resolution far beyond what a browser will display, and encoding that's more precise than it needs to be. That gap is exactly what you can compress away for free with our image compressor, with nothing visibly lost. Push past that gap, though, and you start seeing it: blotchy skies, mushy edges around text, blocky patches in shadows. This guide is about finding the line on purpose instead of guessing.
What "losing quality" actually means in a compressed image#
Image compression works by throwing away information the file doesn't strictly need. There are two different knobs, and only one of them is risky:
- Resolution is how many pixels the image has. Shrinking a 4000×3000 photo down to 1200×900 for a web page removes pixels a screen was never going to show anyway. This is essentially free: nothing you can see changes.
- Encoding quality is how precisely each pixel's color is stored. JPEG in particular uses a quality percentage (0-100) that controls how much color detail gets approximated to save space, a lossy approach MDN's image file type guide explains in more depth. Drop it too far and you start to see it, especially in smooth gradients like skies or skin tones.
So "losing quality" really means one specific thing: encoding quality set too low, not resolution or file size on their own. A photo resized to the right dimensions and re-encoded at a sensible quality can be a fifth of the original size and look identical at normal viewing size.
Step 1: Pick the right format first#
Before touching any slider, format choice determines your ceiling:
| Format | Best for | Why |
|---|---|---|
| JPEG | Photos | Built for smooth color gradients like skin and sky; adjustable quality |
| PNG | Screenshots, logos, graphics with text | Lossless, but large for photos; use for flat colors and sharp edges |
| WebP | Either, if you control the destination | 25-35% smaller than JPEG at equivalent quality, but check the recipient supports it |
If a screenshot full of text and flat color is sitting in JPEG, it'll look blurry around text edges no matter what quality you pick, because JPEG is tuned for photographic gradients, not sharp lines. Converting it to PNG or WebP first fixes that instantly. If you're not sure what WebP even is, our WebP file format explainer covers the format in more depth.
Step 2: Resize before you compress#
Open the Resize Image tool and check the image's actual dimensions against where it's going. A photo destined for a 1200px-wide blog post doesn't need to stay at 4000px; downscaling first removes weight with zero visible cost, and it makes every compression setting after this point more effective, since there's simply less data to encode.
Step 3: Open the Compress Image tool and set quality around 75-85%#
Head to convertowl.com/compress-image. There's nothing to install and no account to create: the tool runs entirely inside your browser using WebAssembly image codecs, so the photo is never uploaded to a server. Drag your (already-resized) image in, and set the quality slider to 75-85% as a starting point. That range is where most photos are indistinguishable from the original at normal viewing size, while the file is often a third to a fifth of its starting weight.
Step 4: Zoom in before you trust it#
File size dropping is not the same as quality holding up. Zoom to 150-200%, roughly the level someone might actually zoom to, and check a gradient-heavy area like sky, skin, or a shadow: that's where compression artifacts show up first. If it still looks clean there, it'll look clean everywhere. If you see blotchy color bands or mushy detail, nudge the quality back up and re-run it; nothing left your browser, so there's no cost to trying again.
Step 5: Compare the numbers and download#
Check the exact before-and-after size the tool reports. If a 4 MB photo is now 700 KB and it still looks sharp at 150% zoom, you've found your setting for that kind of image. Download it, and keep the original file until you're confident you won't need to re-compress at a different quality later.
The mistake that causes more damage than any slider#
Compressing the same file more than once. JPEG is a lossy format: every time you re-encode an already-compressed JPEG, it throws away a bit more detail, even at the same quality percentage. Always start from the original photo, never from a copy you already compressed. If you've lost the original and only have a heavily compressed copy, there's no way to recover the detail that's already gone; the fix has to happen before that first save.
For a broader look at shrinking other file types too, like PDFs and video, our guide to reducing file size without losing quality covers the same idea applied more generally.
FAQs#
Can you really compress an image without losing any visible quality?#
Yes, resizing to the dimensions you'll actually display and re-encoding at 75-85% JPEG quality typically cuts file size substantially with no difference visible at normal viewing size.
What's the best quality setting to compress a photo?#
75-85% is the range where most photos look identical to the original while still shrinking significantly, making it the safest starting point before you consider going lower.
Does resizing an image reduce quality?#
No, resizing down to the resolution you'll actually display removes pixel data a screen was never going to show, so there's no visible loss, unlike lowering the JPEG quality percentage, which can be.
Why does my image look worse after I compressed it twice?#
JPEG re-encoding is lossy, so compressing a file that's already been compressed discards more detail on the second pass even at an identical quality setting; always compress from the original source.
Should I use JPEG or PNG to keep quality high?#
Use JPEG for photos, since it's built for smooth color gradients, and PNG for screenshots or graphics with sharp text and flat colors, since PNG is lossless and doesn't blur edges the way JPEG can.
Is it safe to compress a personal photo online?#
Yes, as long as the tool processes it locally in your browser; ConvertOwl's Compress Image tool uses WebAssembly to compress the file on your own device, so nothing is ever uploaded anywhere.
The short version#
- "Losing quality" comes from encoding quality set too low, not from resolution or file size alone.
- Resize first to the dimensions you'll actually display, then compress; it removes weight with zero visible cost.
- 75-85% JPEG quality is the range where most photos look untouched while still shrinking significantly.
- Pick the right format: JPEG for photos, PNG or WebP for screenshots and graphics with sharp edges.
- Always compress from the original file, never from an already-compressed copy.
Ready to try it? Open the free Compress Image tool, resize first if needed, start at 80% quality, and zoom in to check: no upload, no watermark, no account.
Try the tools
Free, private, and instant. Everything runs in your browser.