How to Remove the Background from a Photo for Free
Remove the background from a photo free in your browser and get a transparent PNG. No upload, no signup, no watermark. Plus tips for cleaner cutouts.
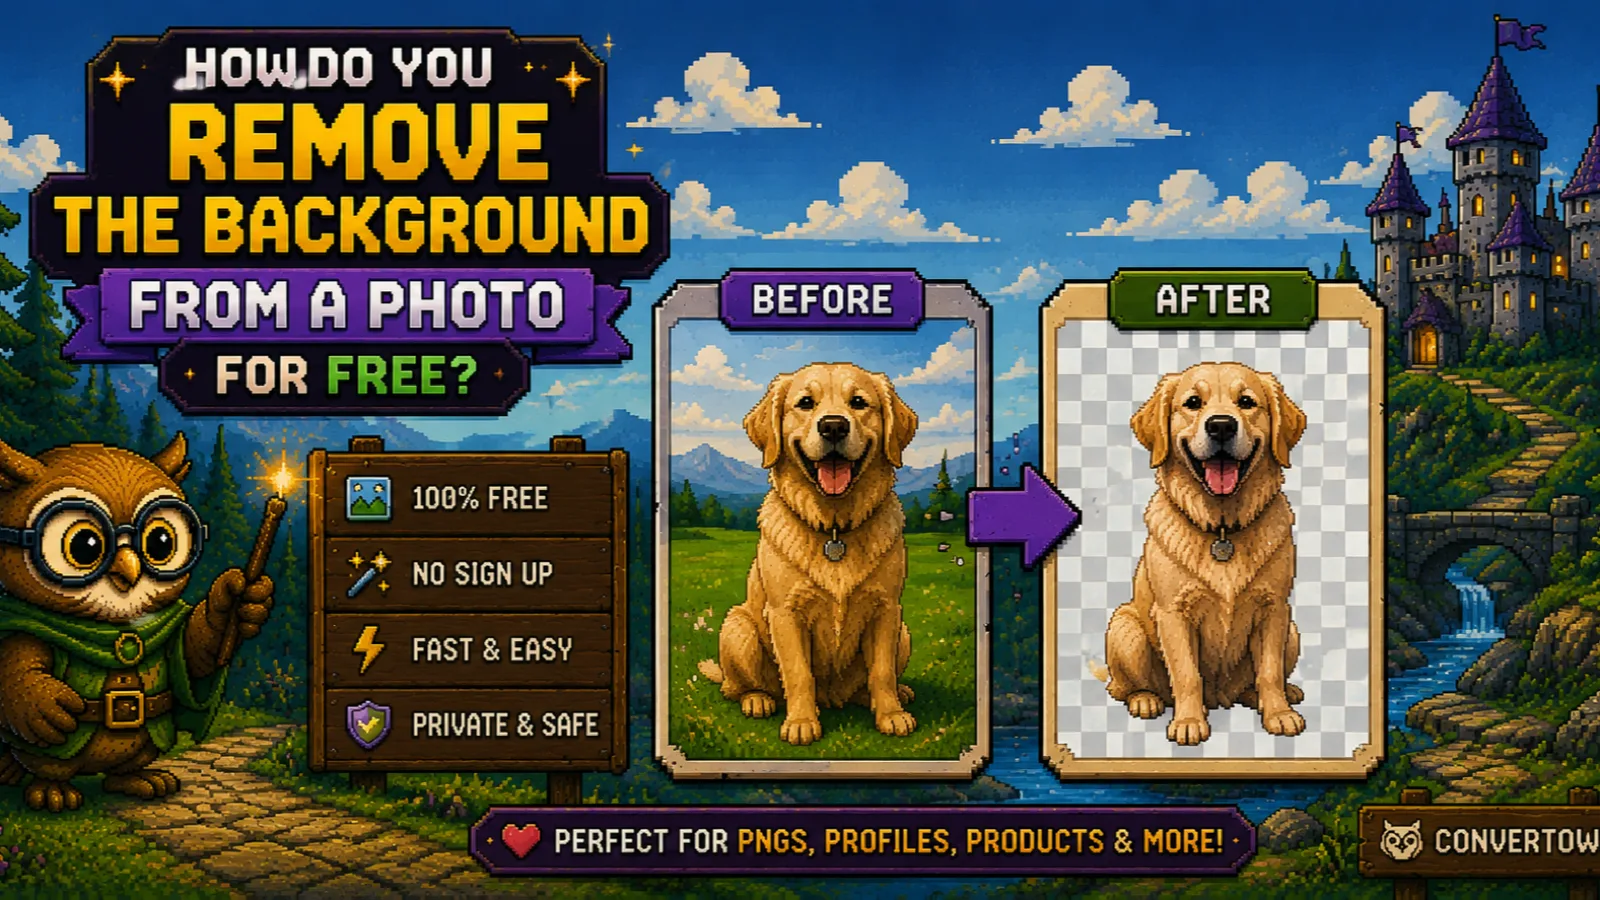
You need a product shot on a clean backdrop, a headshot for a profile, or a photo of your dog you can drop onto a birthday card. The part that stands in the way is always the same: the background. You can remove the background from a photo for free, in a few seconds, with our background remover, and get back a transparent PNG with no signup, no watermark, and no upload.
This guide walks through how it works, how to get a clean cutout, and what to do with the file afterward so it stays sharp and a sensible size.
How automatic background removal actually works#
The old way to cut out a subject was manual: trace around it with a pen tool, then clean up the edges by hand. Automatic removal replaces that with a machine learning model trained to spot the main subject of a photo (a person, a pet, a product) and produce a mask: a map that says, pixel by pixel, how much of each spot belongs to the subject.
That mask becomes the image's alpha channel, the layer that stores transparency. Where the mask says "subject," pixels stay fully visible. Where it says "background," they become fully transparent. Along the edges, soft in-between values keep hair and fur from looking cut out with scissors.
Two things follow from this:
- The model looks for a subject, not a colour. It works on busy, everyday backgrounds (a living room, a street, a park) where a simple "delete everything green" tool would fail.
- The result has to be saved in a format that keeps transparency. That's why the output is a PNG. A JPG has no alpha channel at all, as the MDN image format guide notes, so it can't store "see-through."
Step 1: Open the background remover#
Go to the free Remove Background tool. There is nothing to install and no account to create. The model runs inside your browser, so your photo is never uploaded to a server, which matters for a picture of your kids, an ID-style headshot, or an unreleased product.
The first time you use it, the browser downloads the model once and caches it. That first run takes a little longer; after that it starts quickly, and it even keeps working offline.
Step 2: Add your photo#
Drag a JPG, PNG, or WebP onto the page, click to browse, or paste an image from your clipboard. Files up to 50 MB are accepted. The tool handles one image at a time.
If your photo is from an iPhone and saved as HEIC, convert it first with HEIC to JPG, then bring the JPG back here.
Step 3: Let it process and check the preview#
Processing starts on its own and usually takes a few seconds. The result appears on a checkerboard pattern, which is the standard way to show transparent areas: anywhere you see the grey and white squares is now see-through.
Zoom in on the edges before you trust it. Look at hair, fur, fingers, and anything thin (a bike spoke, a plant stem). Those are the places any automatic cutout is most likely to miss.
Step 4: Download the transparent PNG#
Click Download to save the result as a PNG with a transparent background. Very large photos are scaled so the longest side is at most 2,500 pixels, which keeps the file manageable while staying well above what a website, a slide, or a social post needs.
How to get a cleaner cutout#
The model does most of the work, but the photo you give it decides how good the edges look. A few habits make a real difference:
- Contrast helps. A dark jacket against a light wall separates cleanly. A beige sweater against a beige sofa gives the model very little to work with.
- One clear subject beats a crowd. The model is looking for the subject. A single person or product in the middle of the frame is the easy case; a group photo where people overlap is the hard one.
- Sharp beats blurry. Motion blur and heavy compression smear the edges, and the mask inherits that smear.
- Fine detail is the weak spot. Flyaway hair, fur, and see-through objects like glass are hard for every automatic tool. If the edge matters (a print ad, a hero banner), expect to touch it up in an image editor.
What to do with the PNG afterward#
A transparent PNG is lossless, which is great for quality but can make it heavy. Two follow-up steps keep it practical:
- Resize it to the size you'll actually use. A cutout for a 400-pixel product card doesn't need 2,500 pixels. The image resizer keeps the PNG format, so the transparency survives and the file shrinks with the pixel count.
- Switch to WebP if file size matters. WebP supports transparency too, and it usually produces a smaller file than PNG. Convert with PNG to WebP, then run the WebP through the image compressor if you want to squeeze it further. Our guide on what a WebP file is explains the trade-offs.
One thing to avoid: don't convert the cutout to JPG. JPG can't store transparency, so the see-through areas are filled in with a solid colour (white, in our tools), and your clean cutout is back on a background. For more on keeping images light without visible damage, see how to compress images without losing quality.
FAQs#
Can I remove the background from a photo for free without signing up?#
Yes, ConvertOwl's background remover is free, needs no account, and adds no watermark. You open the page, drop in a photo, and download a transparent PNG.
Is my photo uploaded when I remove the background?#
No, the background removal runs entirely in your browser, so the photo never leaves your device. The only download is the AI model itself, the first time you use the tool, and your browser caches it for next time.
Why is the result saved as a PNG and not a JPG?#
The result is a PNG because PNG can store transparency and JPG cannot. If you saved a cutout as JPG, the transparent areas would have to be filled with a solid colour, which puts a background right back behind your subject.
Why does the first background removal take longer?#
The first run is slower because your browser has to download the AI model once before it can process anything. After that, the model is cached, so later photos start almost straight away and the tool even works offline.
Why did the tool cut off part of my subject or miss some hair?#
Automatic removal struggles most with fine detail (loose hair, fur, glass) and with subjects that blend into a similar-coloured background. A sharper photo with more contrast between the subject and the backdrop usually gives a cleaner edge; for critical work, touch up the edge in an image editor.
How do I make the transparent PNG smaller?#
The quickest way to make a transparent PNG smaller is to resize it to the dimensions you'll actually display. If you need it smaller still, convert it to WebP, which also supports transparency and is usually lighter than PNG.
The short version#
- A background remover finds the main subject, builds a mask, and saves everything else as transparent pixels in a PNG.
- ConvertOwl's free background remover does this in your browser: no upload, no signup, no watermark.
- Clean edges start with a sharp photo, one clear subject, and good contrast. Hair and fur may still need a touch-up.
- Resize before you share, switch to WebP if size matters, and never save a cutout as JPG.
More step-by-step guides live in the how-to section of the blog, and every image tool is on the image tools page.
Try the tools
Free, private, and instant. Everything runs in your browser.